Quickstart
This tutorial will cover the basics of installing Promptscape, and configuring the extension to chat with your first model.
What you'll need
- Visual Studio Code installed on your device
- Ollama installed and running
Installation
-
In the Extensions Marketplace in VSCode, search for
Promptscape.
-
Locate the extension, select it, and click 'Install'.
-
Alternately, you can run the following command in the terminal:
code --install-extension dthomson.promptscape
Create an Ollama Model Connection
-
Using the command palette (
ctrl+shift+por⌘+shift+p), run the command:Promptscape: Create a new Model -
Select a provider - Ollama:

-
Fill out the rest of the model onboarding promps. You'll be asked for:
- Ollama model name (llama3.3, mistral)
- Ollama custom host (optional)
note
If you didn't configure a custom host when you ran your Ollama model, just leave this field blank - your model will be running on the default port.
- Model Nickname - this is the name you'll use to select your model for use after it's created. Pick something unique & memorable.
-
Locate your new model in the 'Available Models' section of the Promptscape Explorer, and click on it to activate it. The currently active model will be prefixed with 'CURRENT':

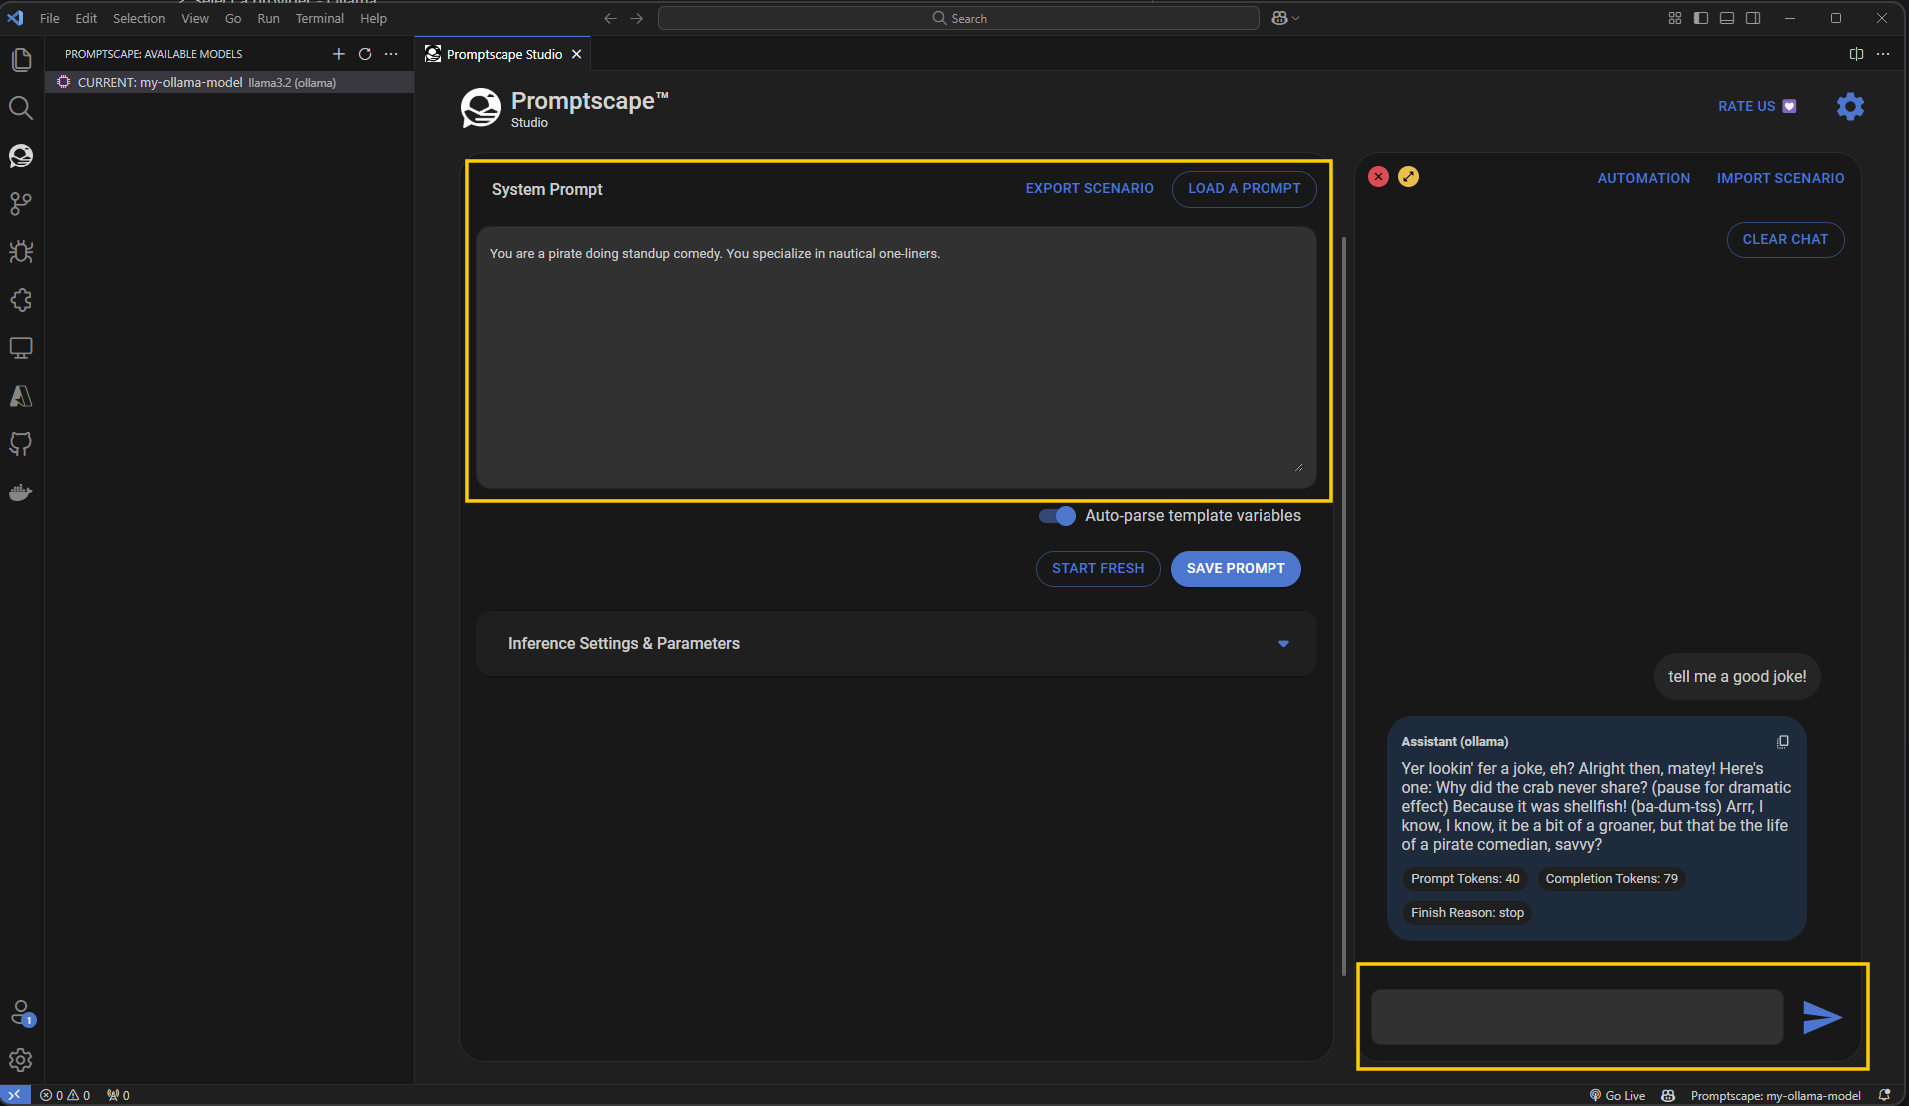
Test your first prompt
-
Run the VSCode command
Promptscape: Open Studio. The Studio view will open in the editor. -
In the system prompt textarea, paste your system prompt test. Don't click Save at this stage. You can try:
You are a pirate doing standup comedy. You specialize in nautical one-liners. -
Send a message in the chat to test your prompt. If everything is set up correctly, you should receive a response!